Very Important
Operation and Protection of Orientation Studs
1
Removing the safety caps

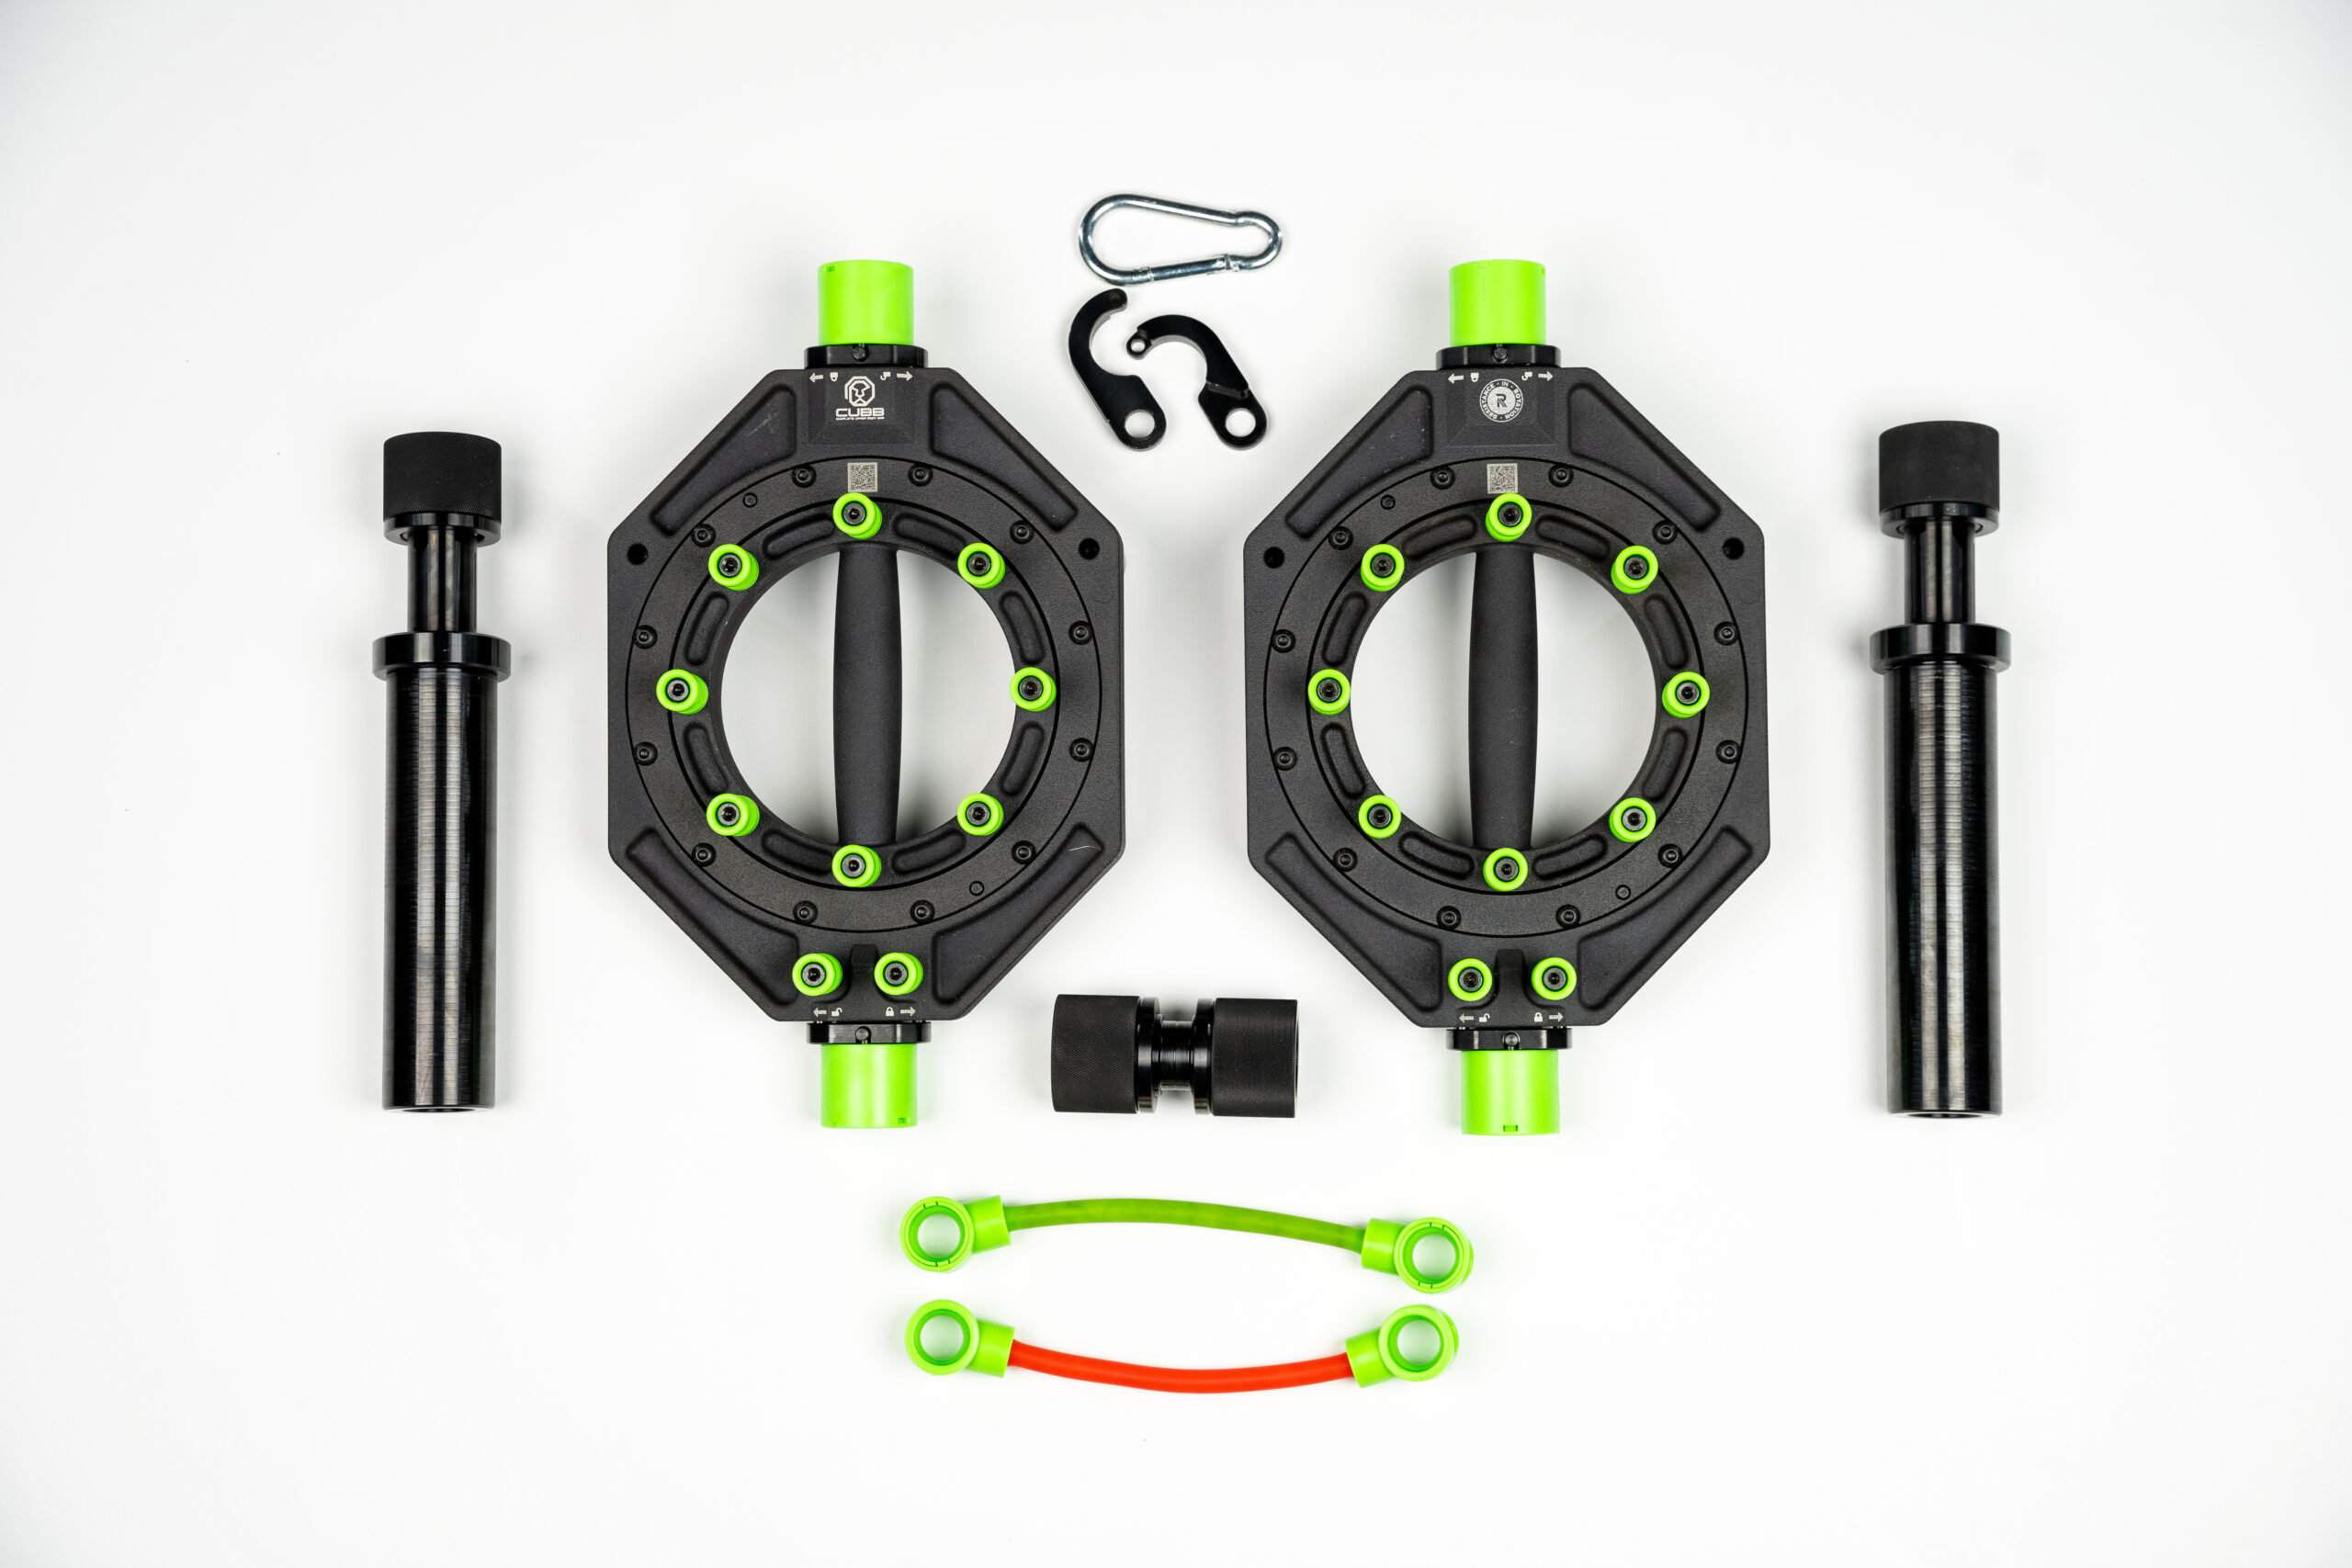
Once you have unboxed the unit and have checked to make sure all components are present, you are ready to start your assembly. Please remove the safety caps from both independent bearing sets.
Step 1: Depress your safety button.
Step 2: Turn the safety cap towards the unlock position. The safety cap should now be removed.
2
Do not dispose of safety caps!

Place the safety caps back on the orientation studs any time the CUBB is disassembled and when using it without the bar sleeves. The safety caps are to protect the orientation studs. *Please remember to protect your investment and keep all four of the safety caps together in a safe place.
3
Connecting the middle bar

Three lines can be found on the center portion of the middle bar. These three lines each correspond to a dot on the inner portion of the locking collar. Each of those dots correspond to a flat side of the orientation mechanism.
4
The locking collar

Turn the locking collar as if you are loosening, or unlocking, it until it barely comes to a stop. Looking inside the locking collar rotate it back (tighten) slightly until the dot on the tab of the washer is lined up with the nearest dot on the inner portion of the locking collar. Everything is now perfectly aligned to slide the collar on the orientation stud lined up with the safety button.
When connecting it to the independent bearing set, rotate the locking collar toward the locked position and the safety button will come up. Once the safety button pops up, the unit will not come off. Confirming that the middle bar is attached securely.
5
Connecting the bar sleeves

All of the locking collars operate in the same manner.
Step 1: Find the line and line up your dots. Then push the bar sleeve onto the orientation stud lining up the line on the bar sleeve and the safety button.
Step 2: Rotate the collar in the locking direction and tighten, verifying the safety button comes up as you begin to tighten.
6
After connecting the components

Once you have completed these steps, your CUBB is now fully assembled.
Cable Attachment
Assembly and Carabiner Attachment
1
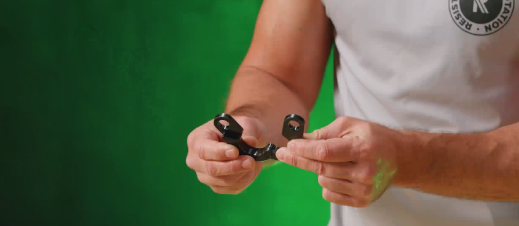
Assemble the two halves

Put the two halves of the cable attachment together. Insert the half with the pin into the small hole on the other half.
2
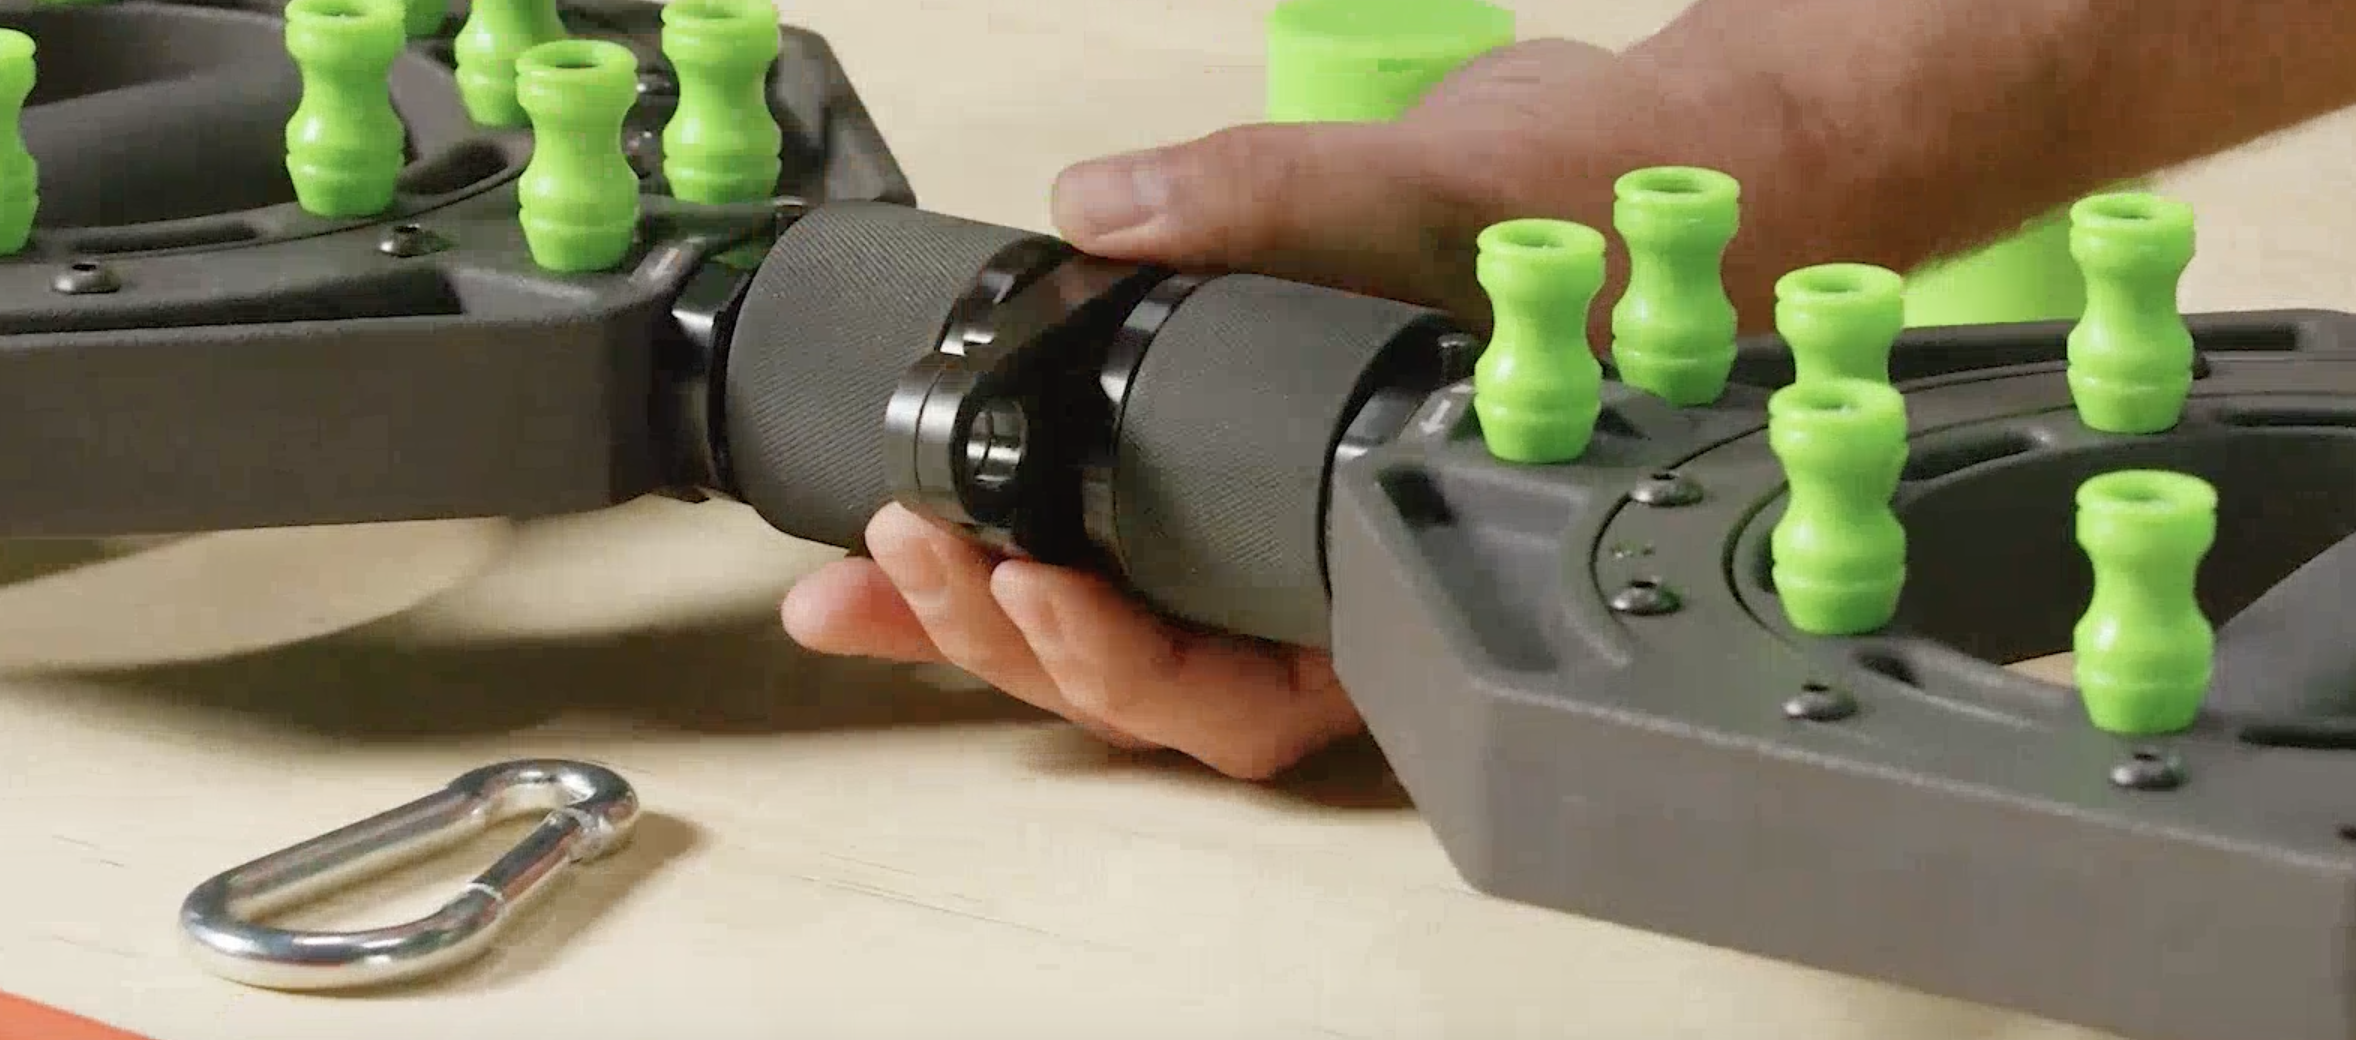
Attach to the middle bar

Place the cable attachment around the middle bar. The cable attachments two (2) pieces must be connected as described in step one.
3
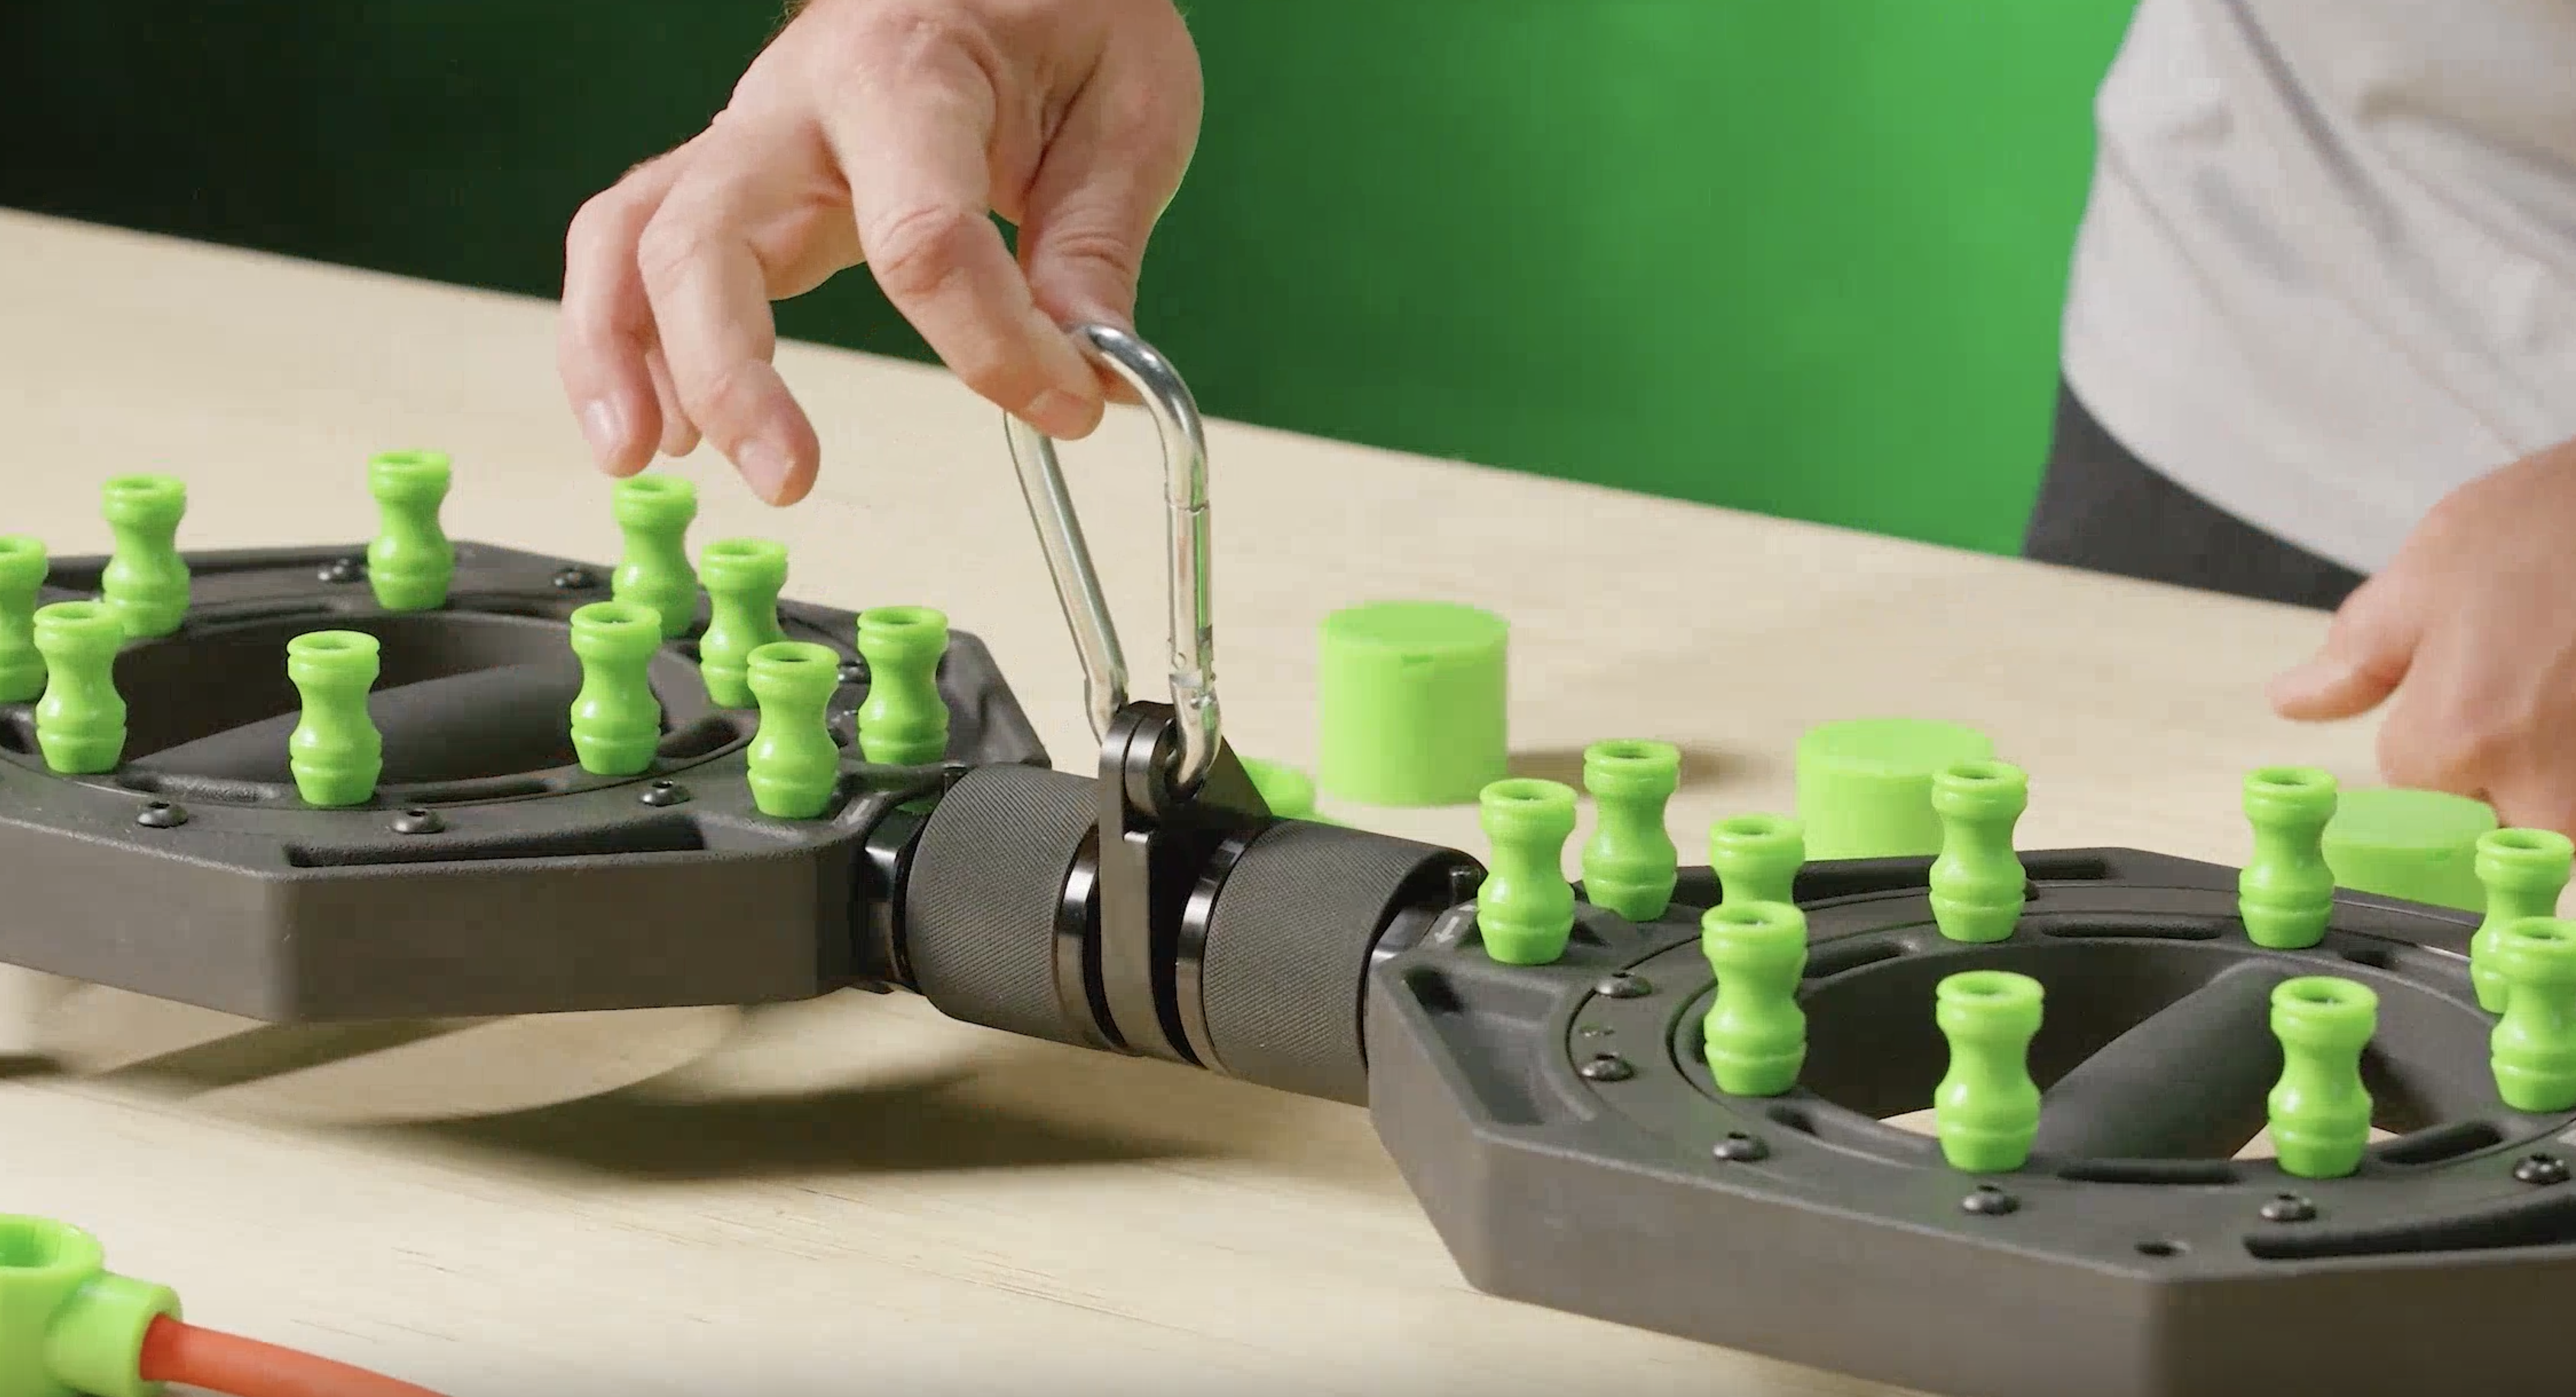
Attach carabiner

Attach the Caribener to the assembled two-piece cable attachment in the picture. Before attaching to a cable machine, ensure that the two pieces of the cable attachment are secure as described in step one.


